Building my gaming table
Having always wanted to have a gaming table with a covered gaming area and a fully controllable set of lights, but not being able to convince my partner that it was a justifiable household expense, and the fact I could not find one the same size as our existing table, I wondered if I could make my own. Well, it turns out, I could!
Here’s how I did it!
Design and planning
I had never tackled a project this ambitious before. My previous DIY attempts were varied, but after teaching myself FreeCAD and purchasing a 3D printer, I felt ready to take on the challenge.
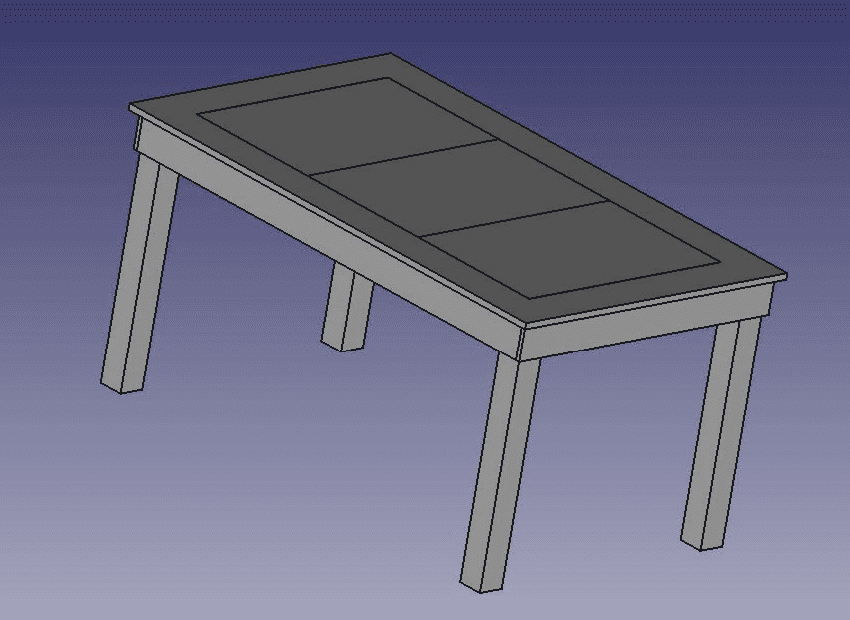
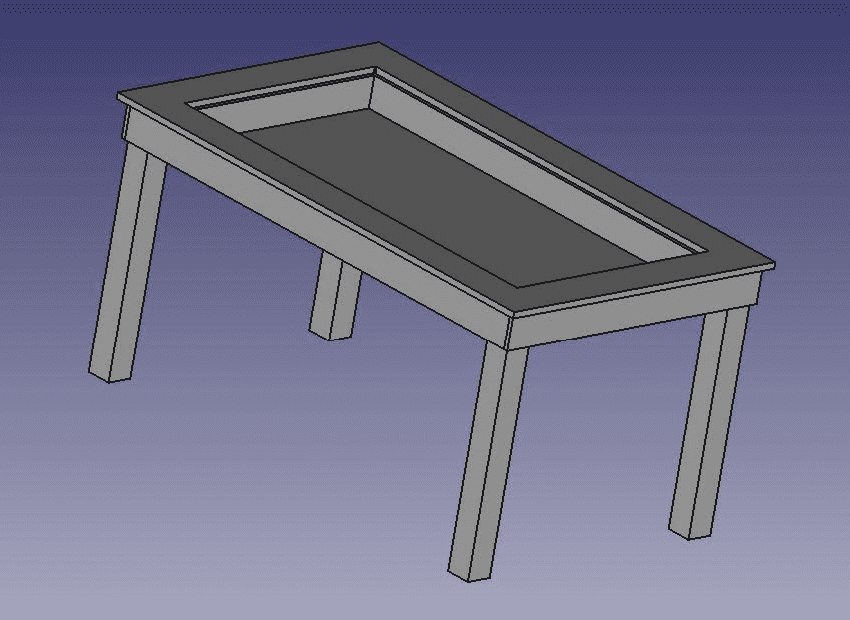
To get the green light for building a new table, I had to agree that it would match the size of our existing one, giving me my first set of constraints. With that basic footprint as a starting point, I began sketching designs in FreeCAD. After experimenting with a few iterations and learning along the way, I finalized my third version—a fully parameterized model, as shown below.
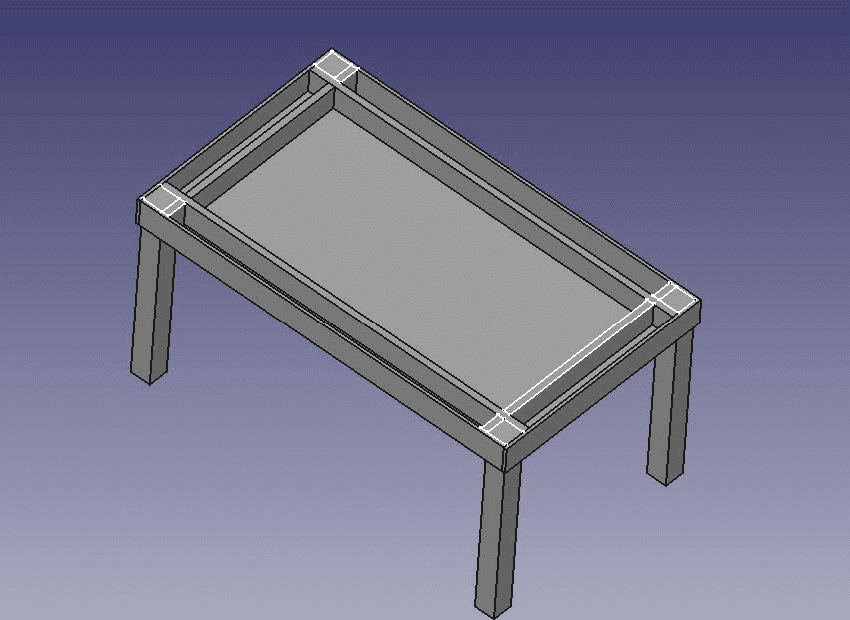
The next question was what material to use. From my past DIY projects, I knew cutting straight lines wasn’t my forte, so I turned to cutmy.co.uk for precision-cut pieces. With all the measurements ready in FreeCAD, it was a straightforward process to extract dimensions from the model and order the wood. I decided to use hardwood plywood for the table, as it would provide an interesting texture and character when stained.
Putting it all together
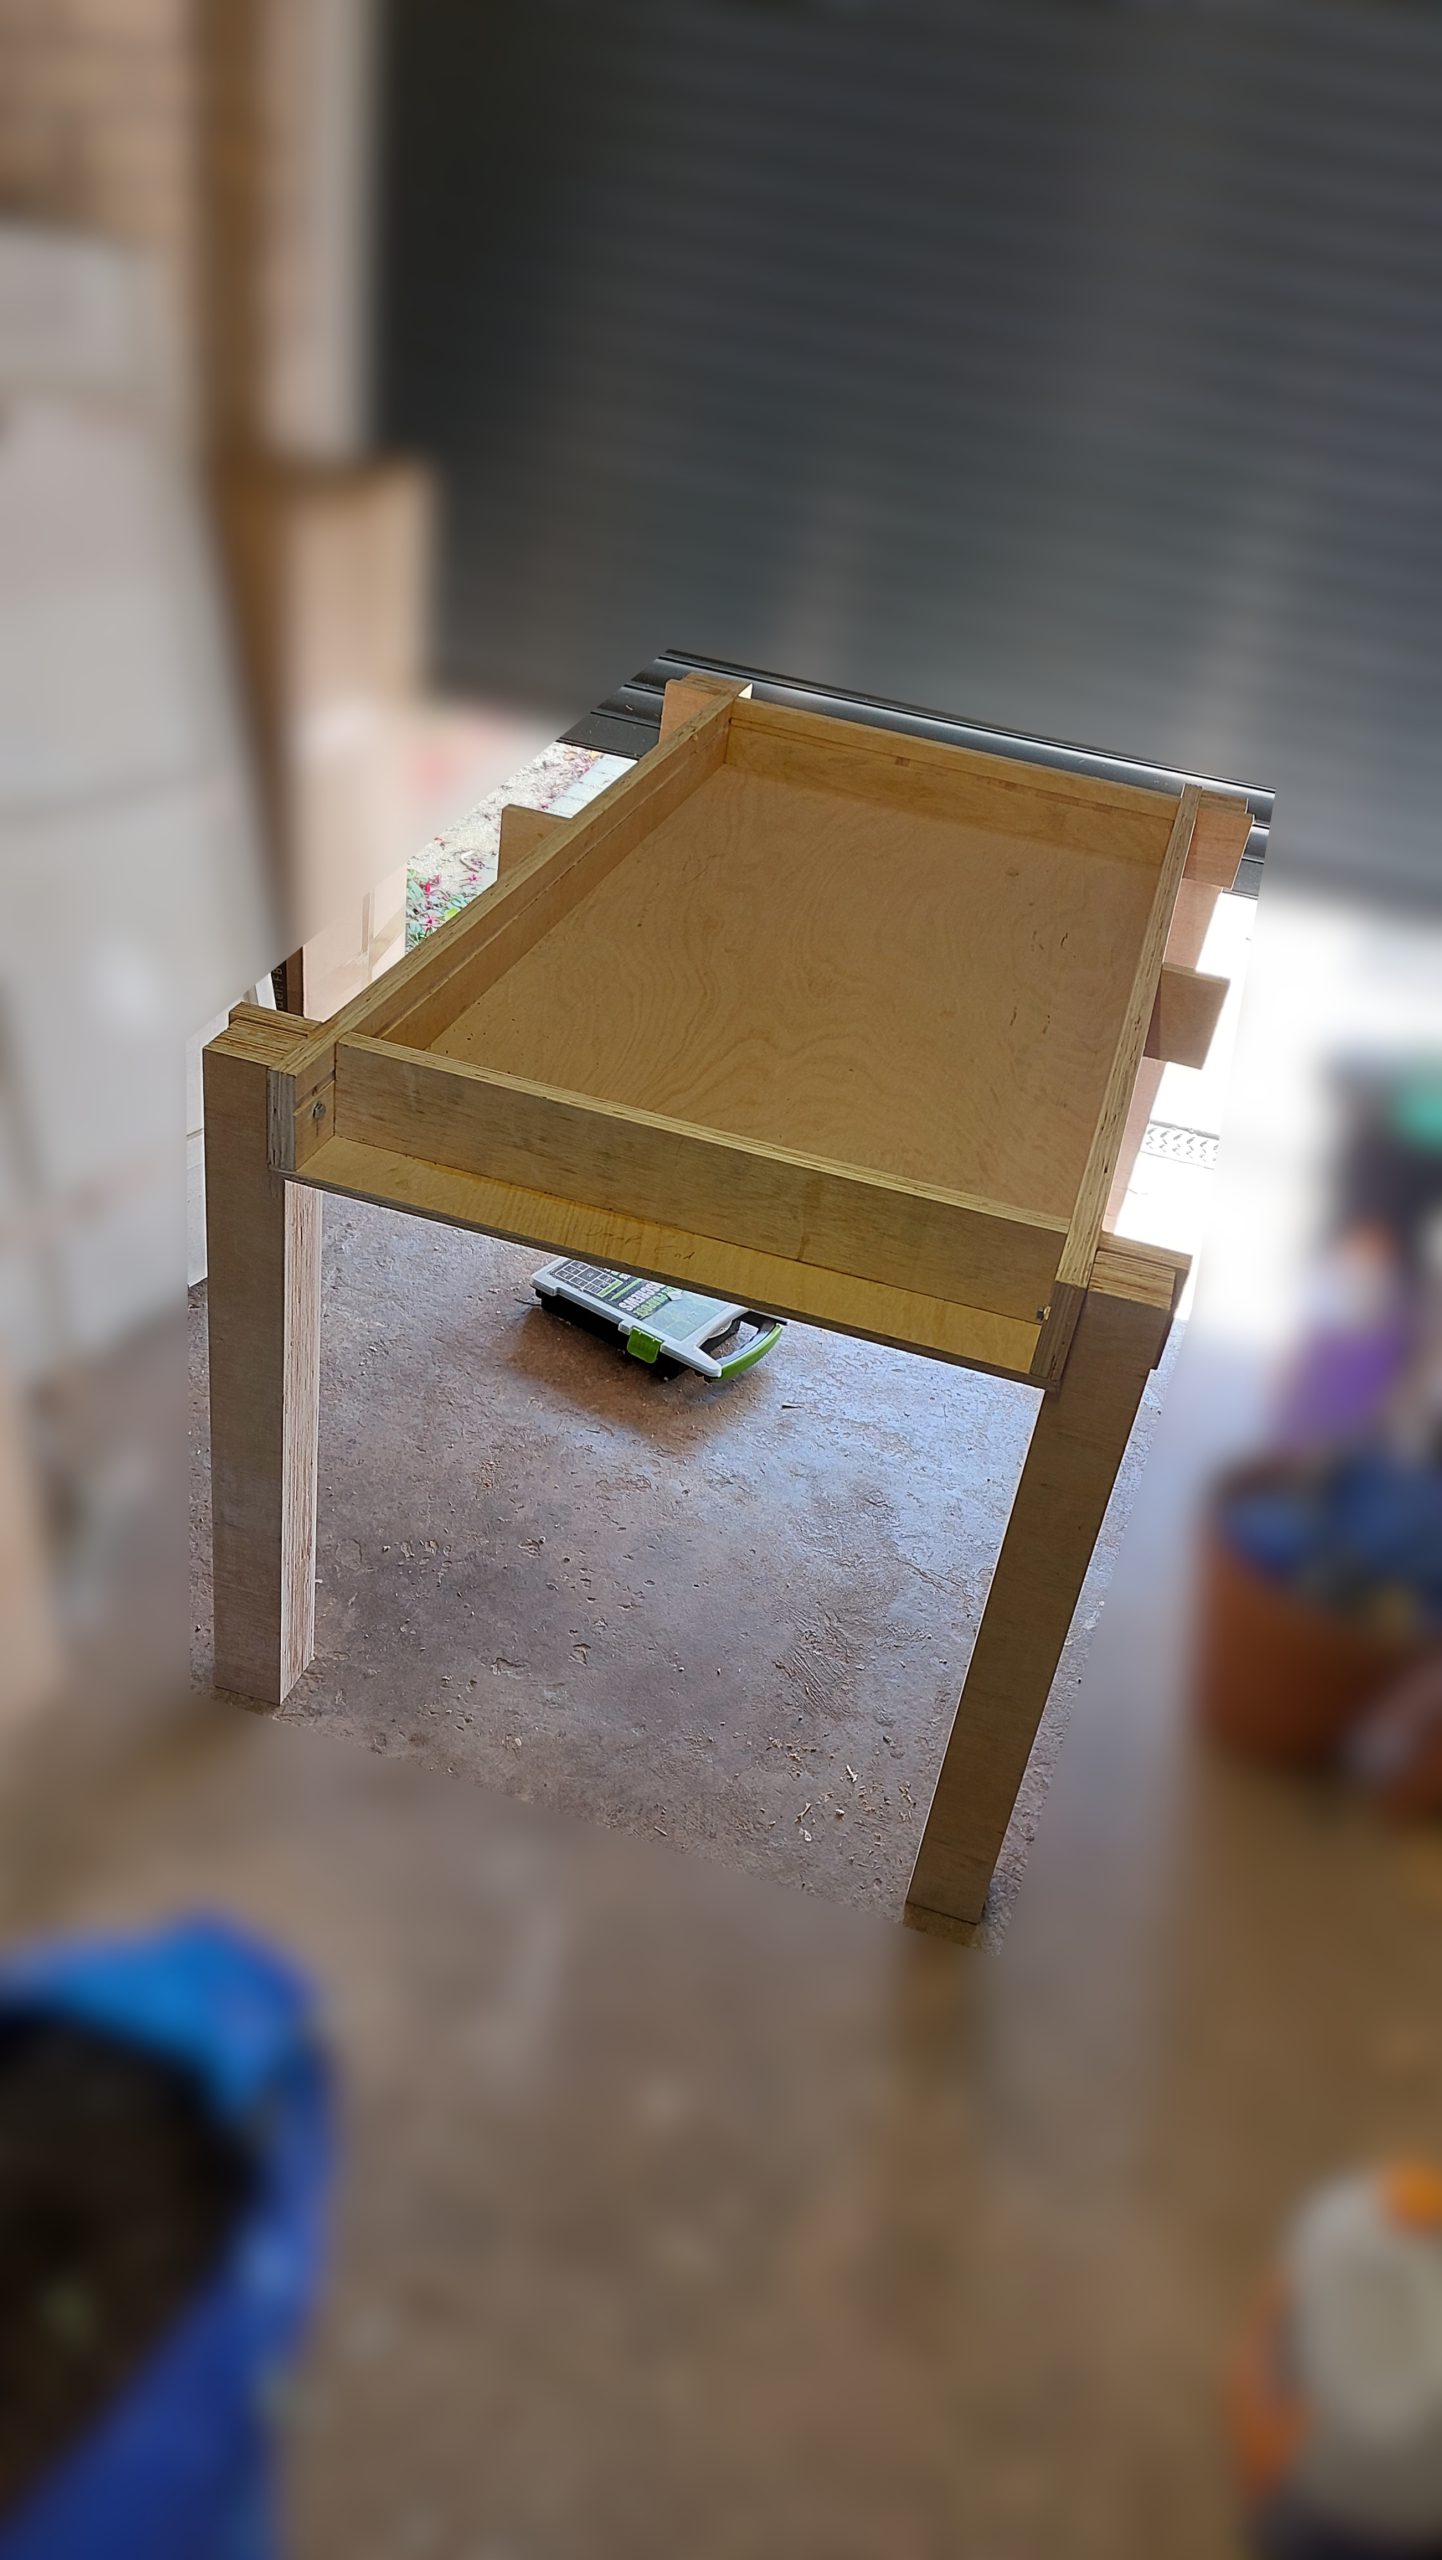
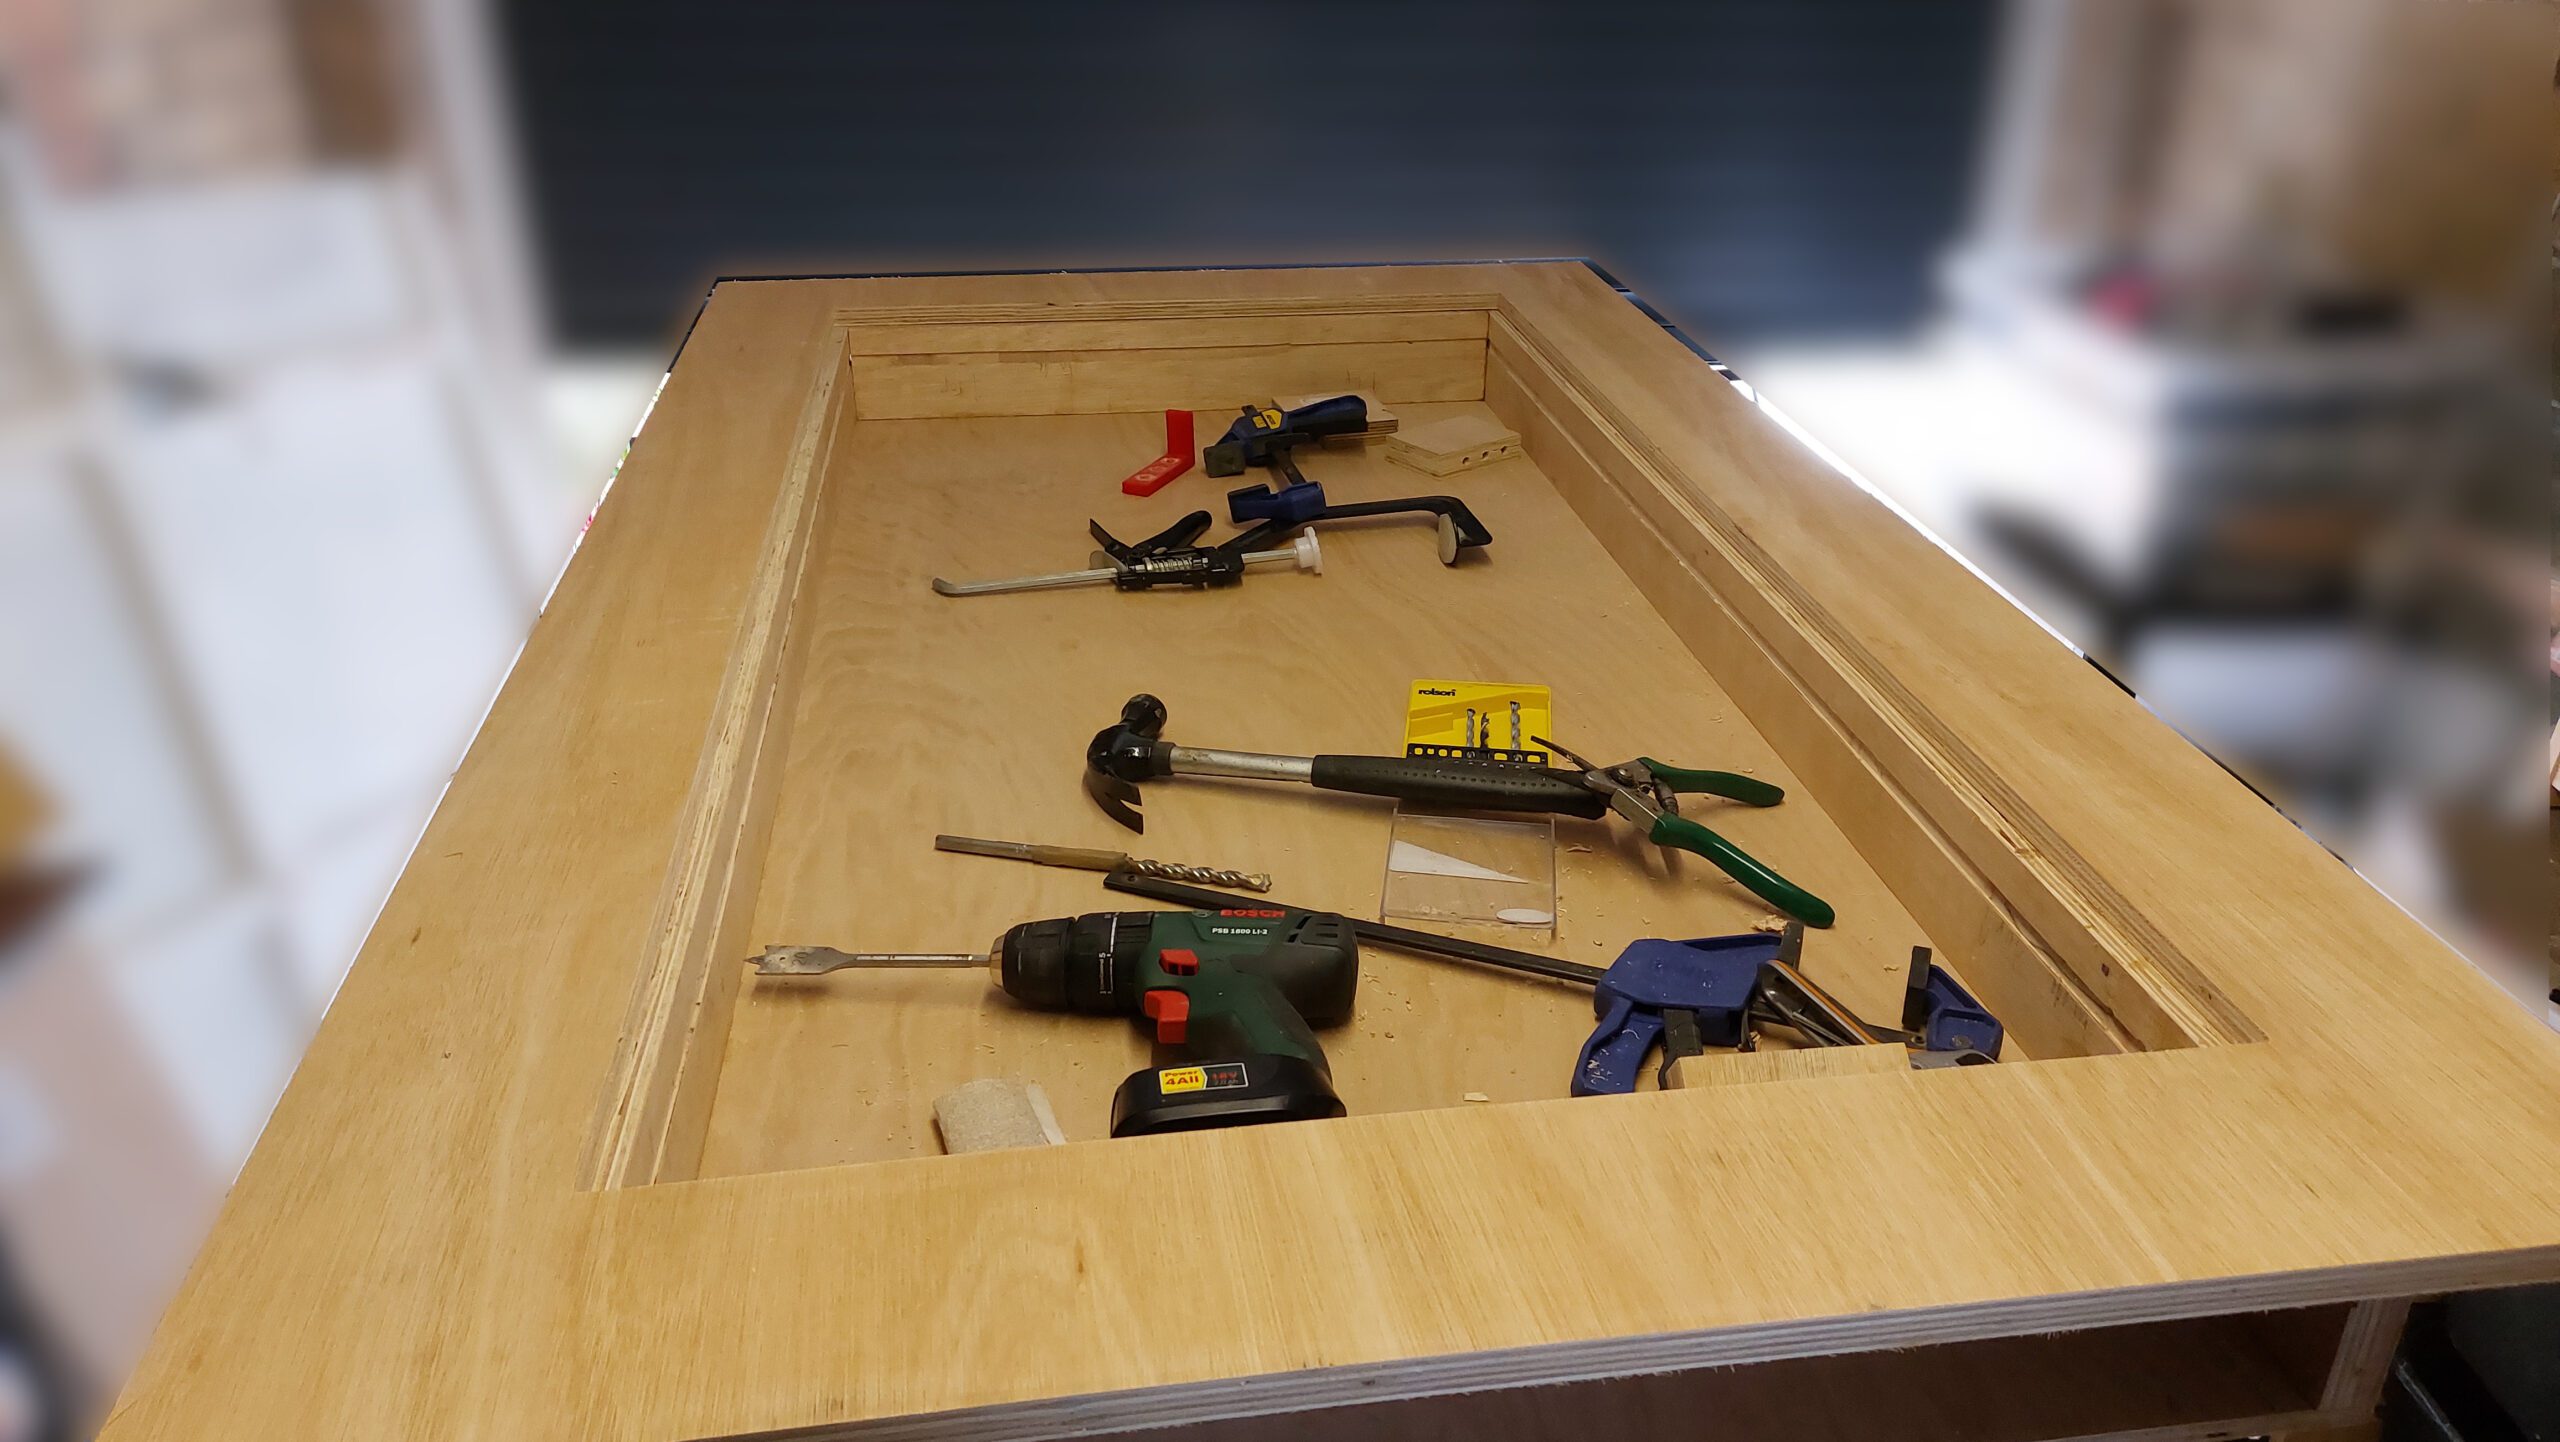
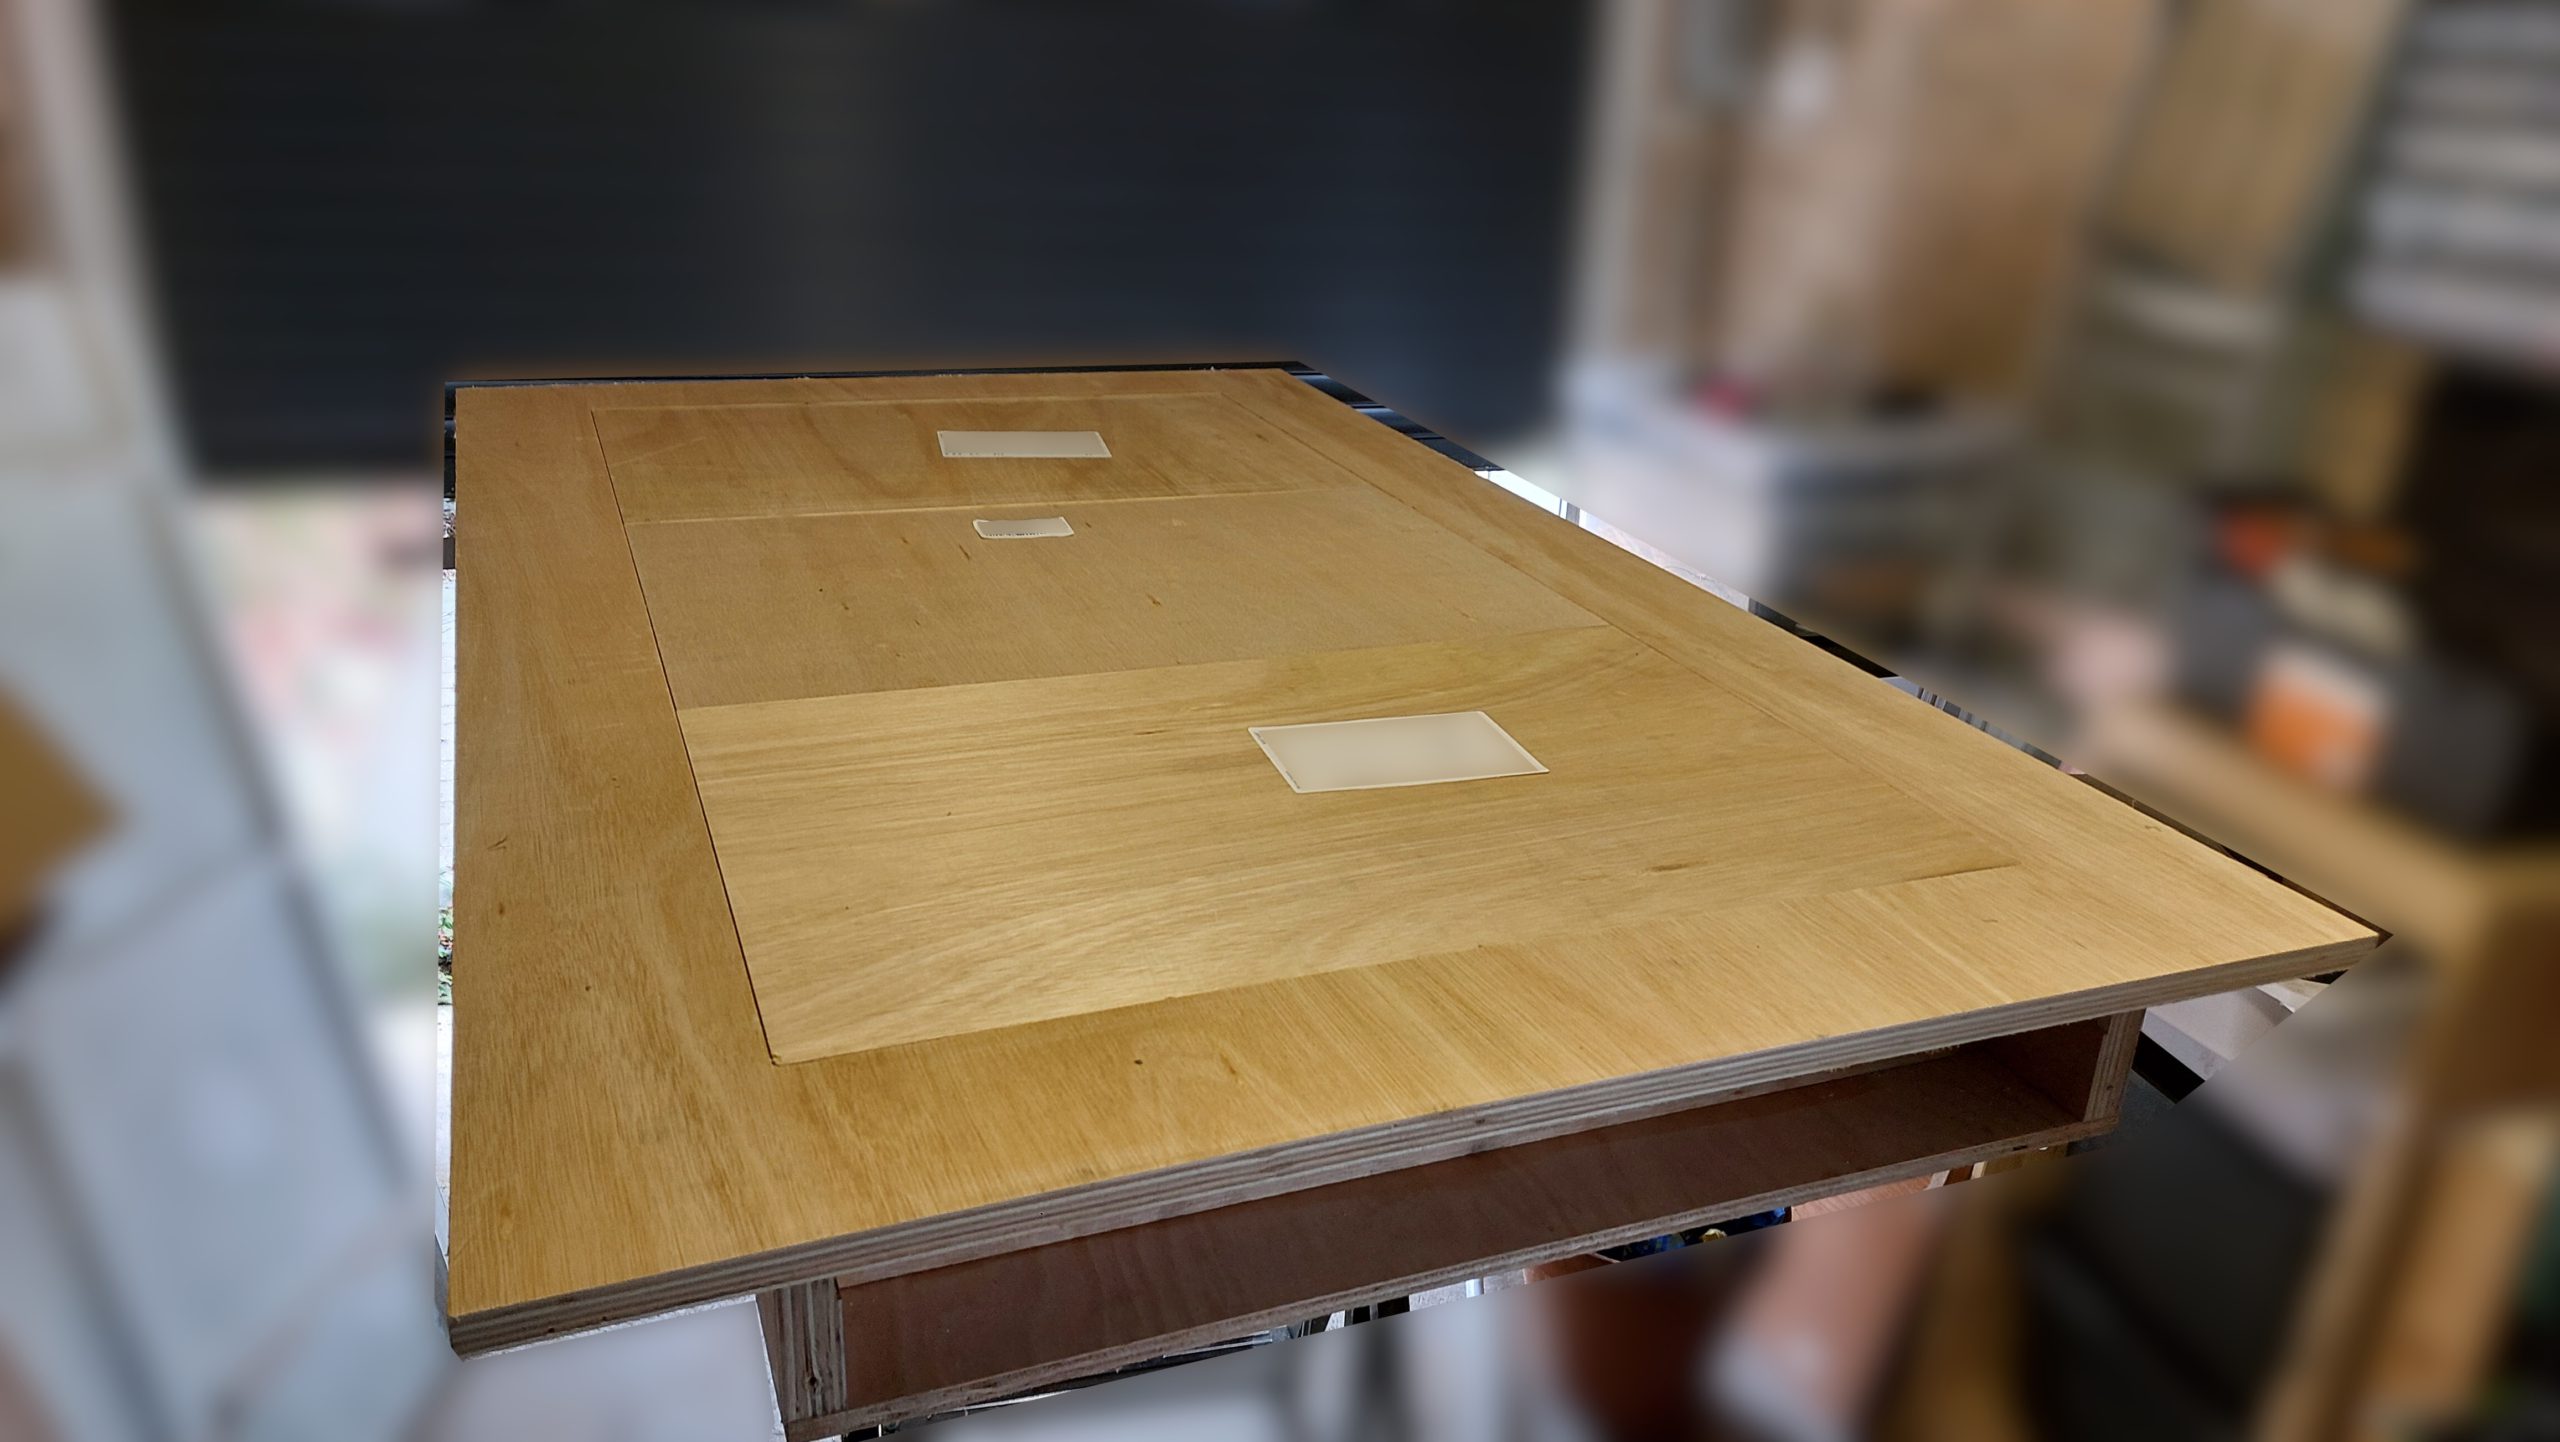
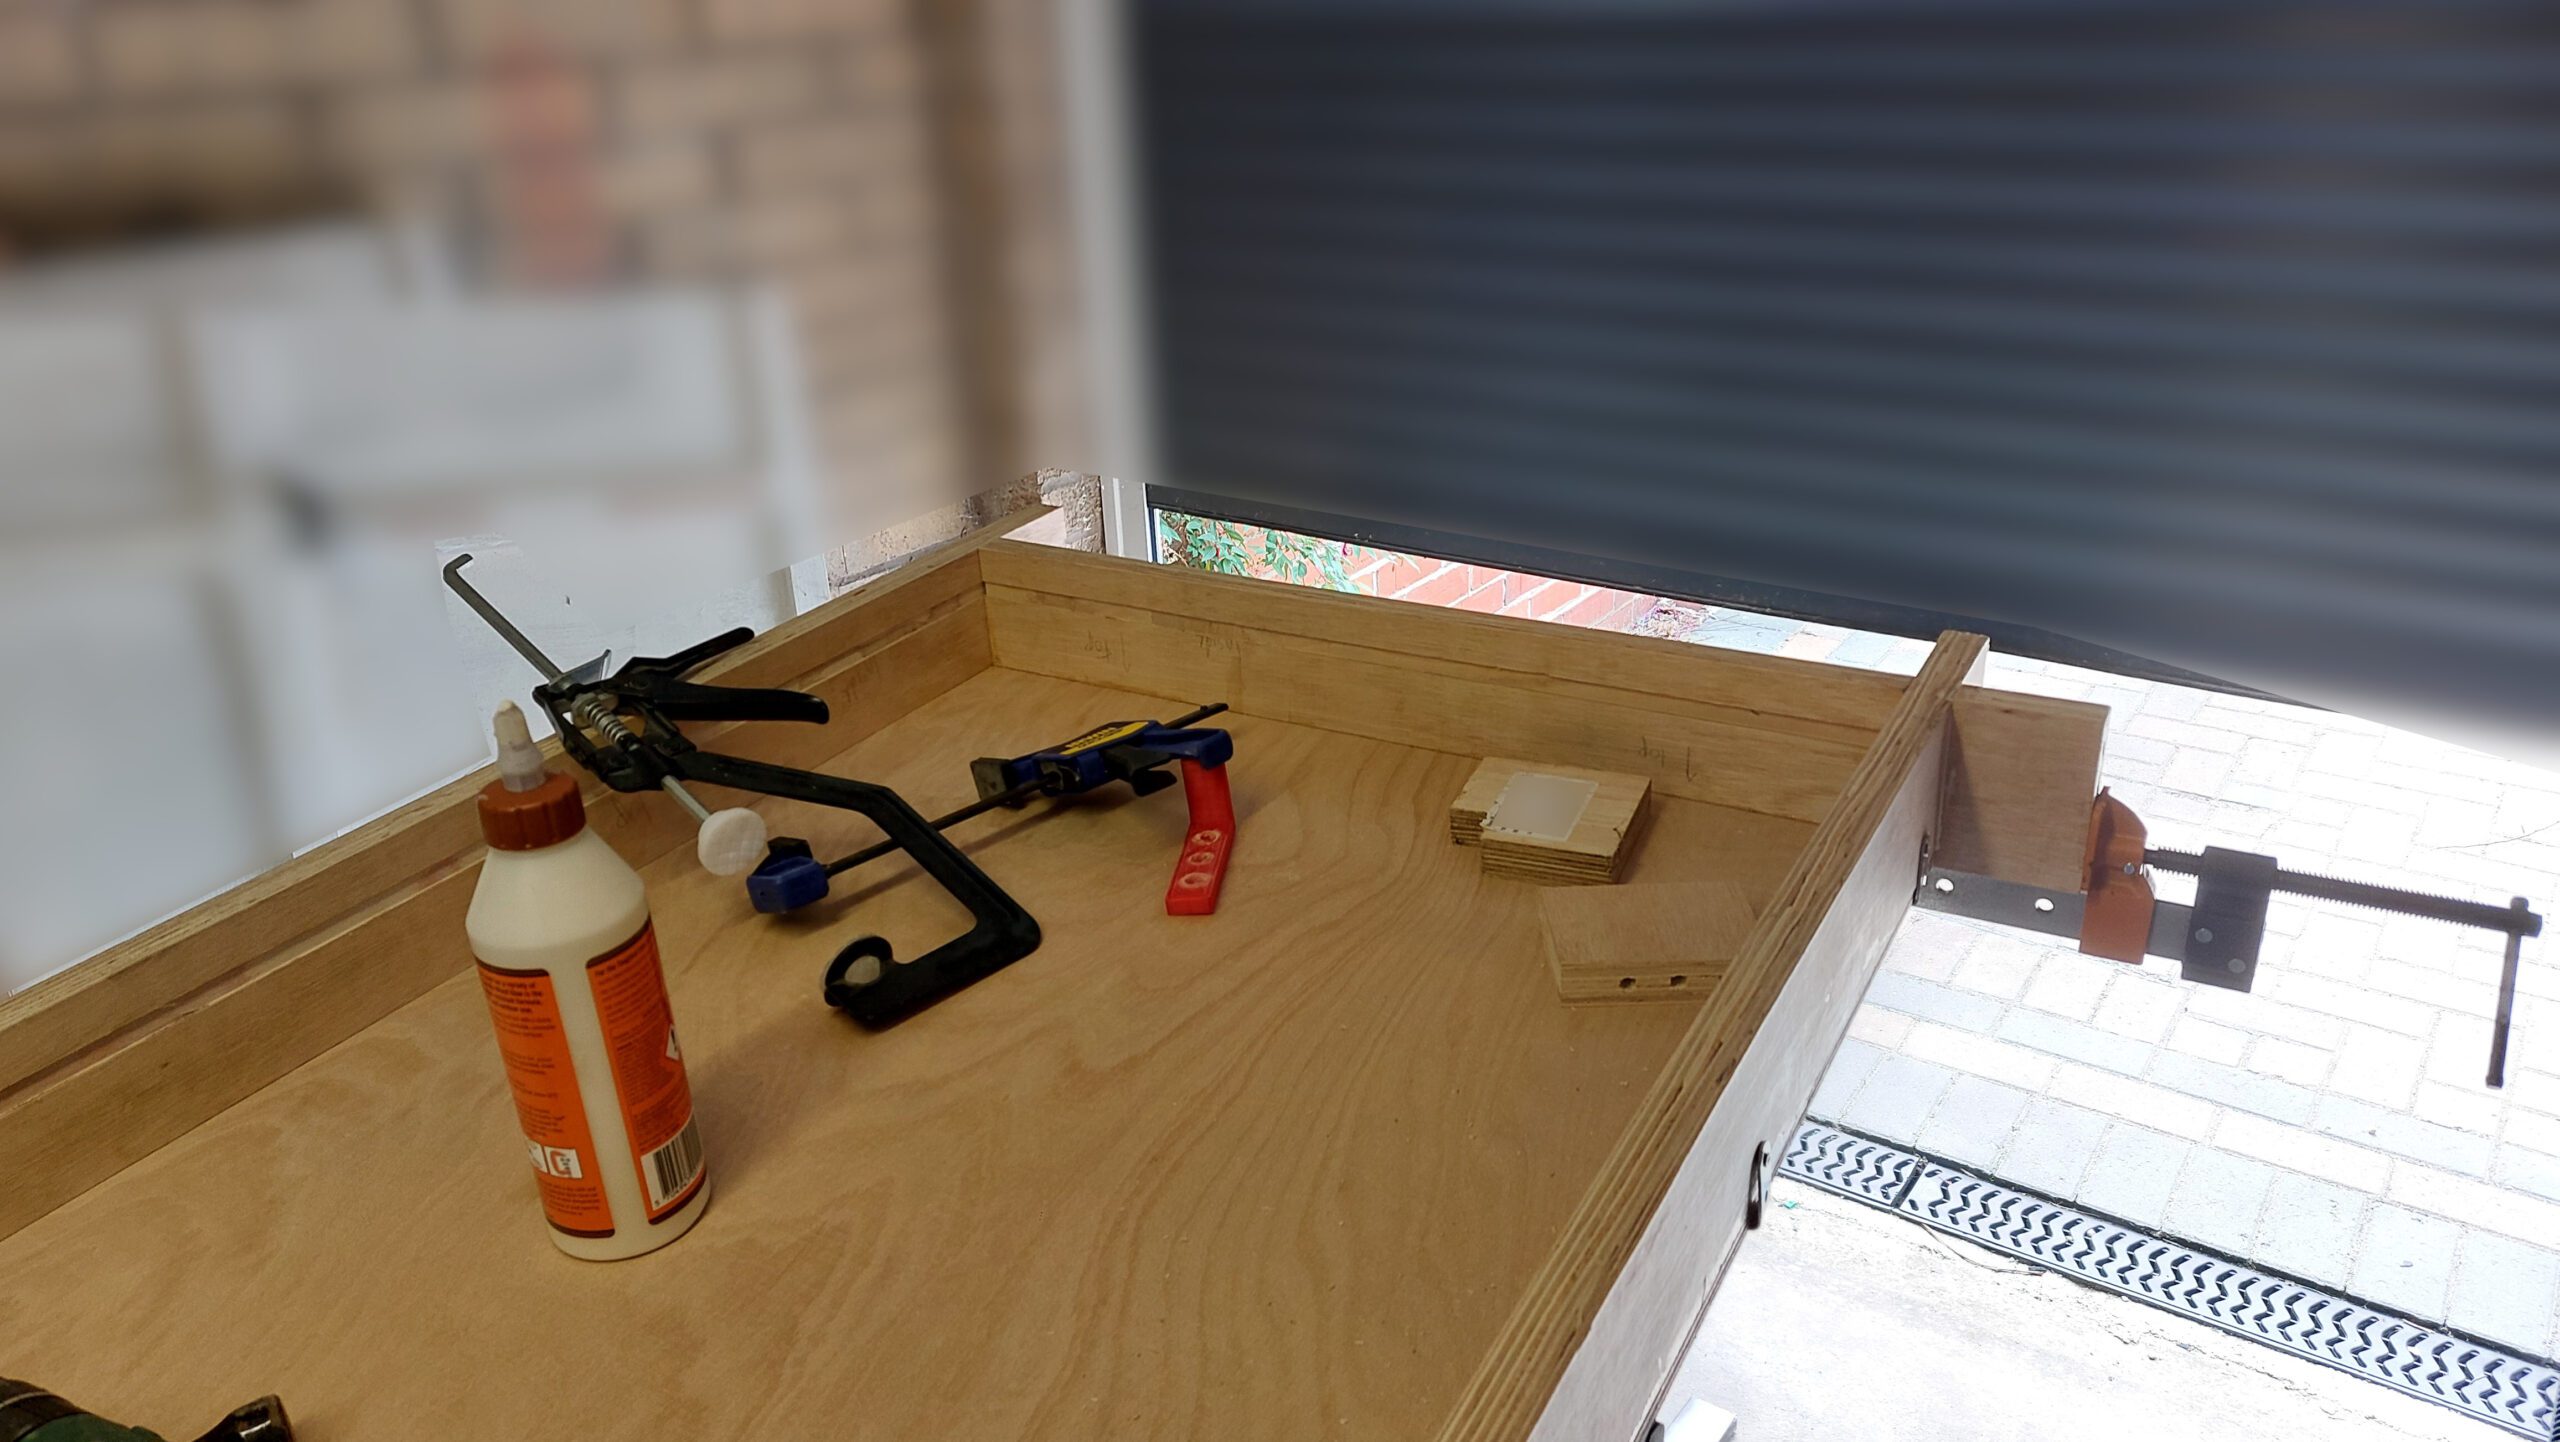
Once all the wood arrived, the build process began. I opted for a combination of dowels, glue, and the occasional metal bracket to hold the table together. Over the course of a few days, a mix of drilling, gluing, and a fair amount of swearing brought the table to life.
The process also involved several trips to the big orange DIY store to pick up a variety of tools. I never tallied up the cost of these tools, but since they can be reused for future projects, they clearly don’t count toward the total expense—or so I tell myself.
I bought a router to carve out the sections where I planned to install the LED strips.
In hindsight, if I were to build the table again, I’d probably use a channel for the lights to sit in rather than attaching them directly to the table. Unfortunately, I only had that idea after everything was assembled, and it was too late to route it out again.

Below you can see more images from various states of the build process.

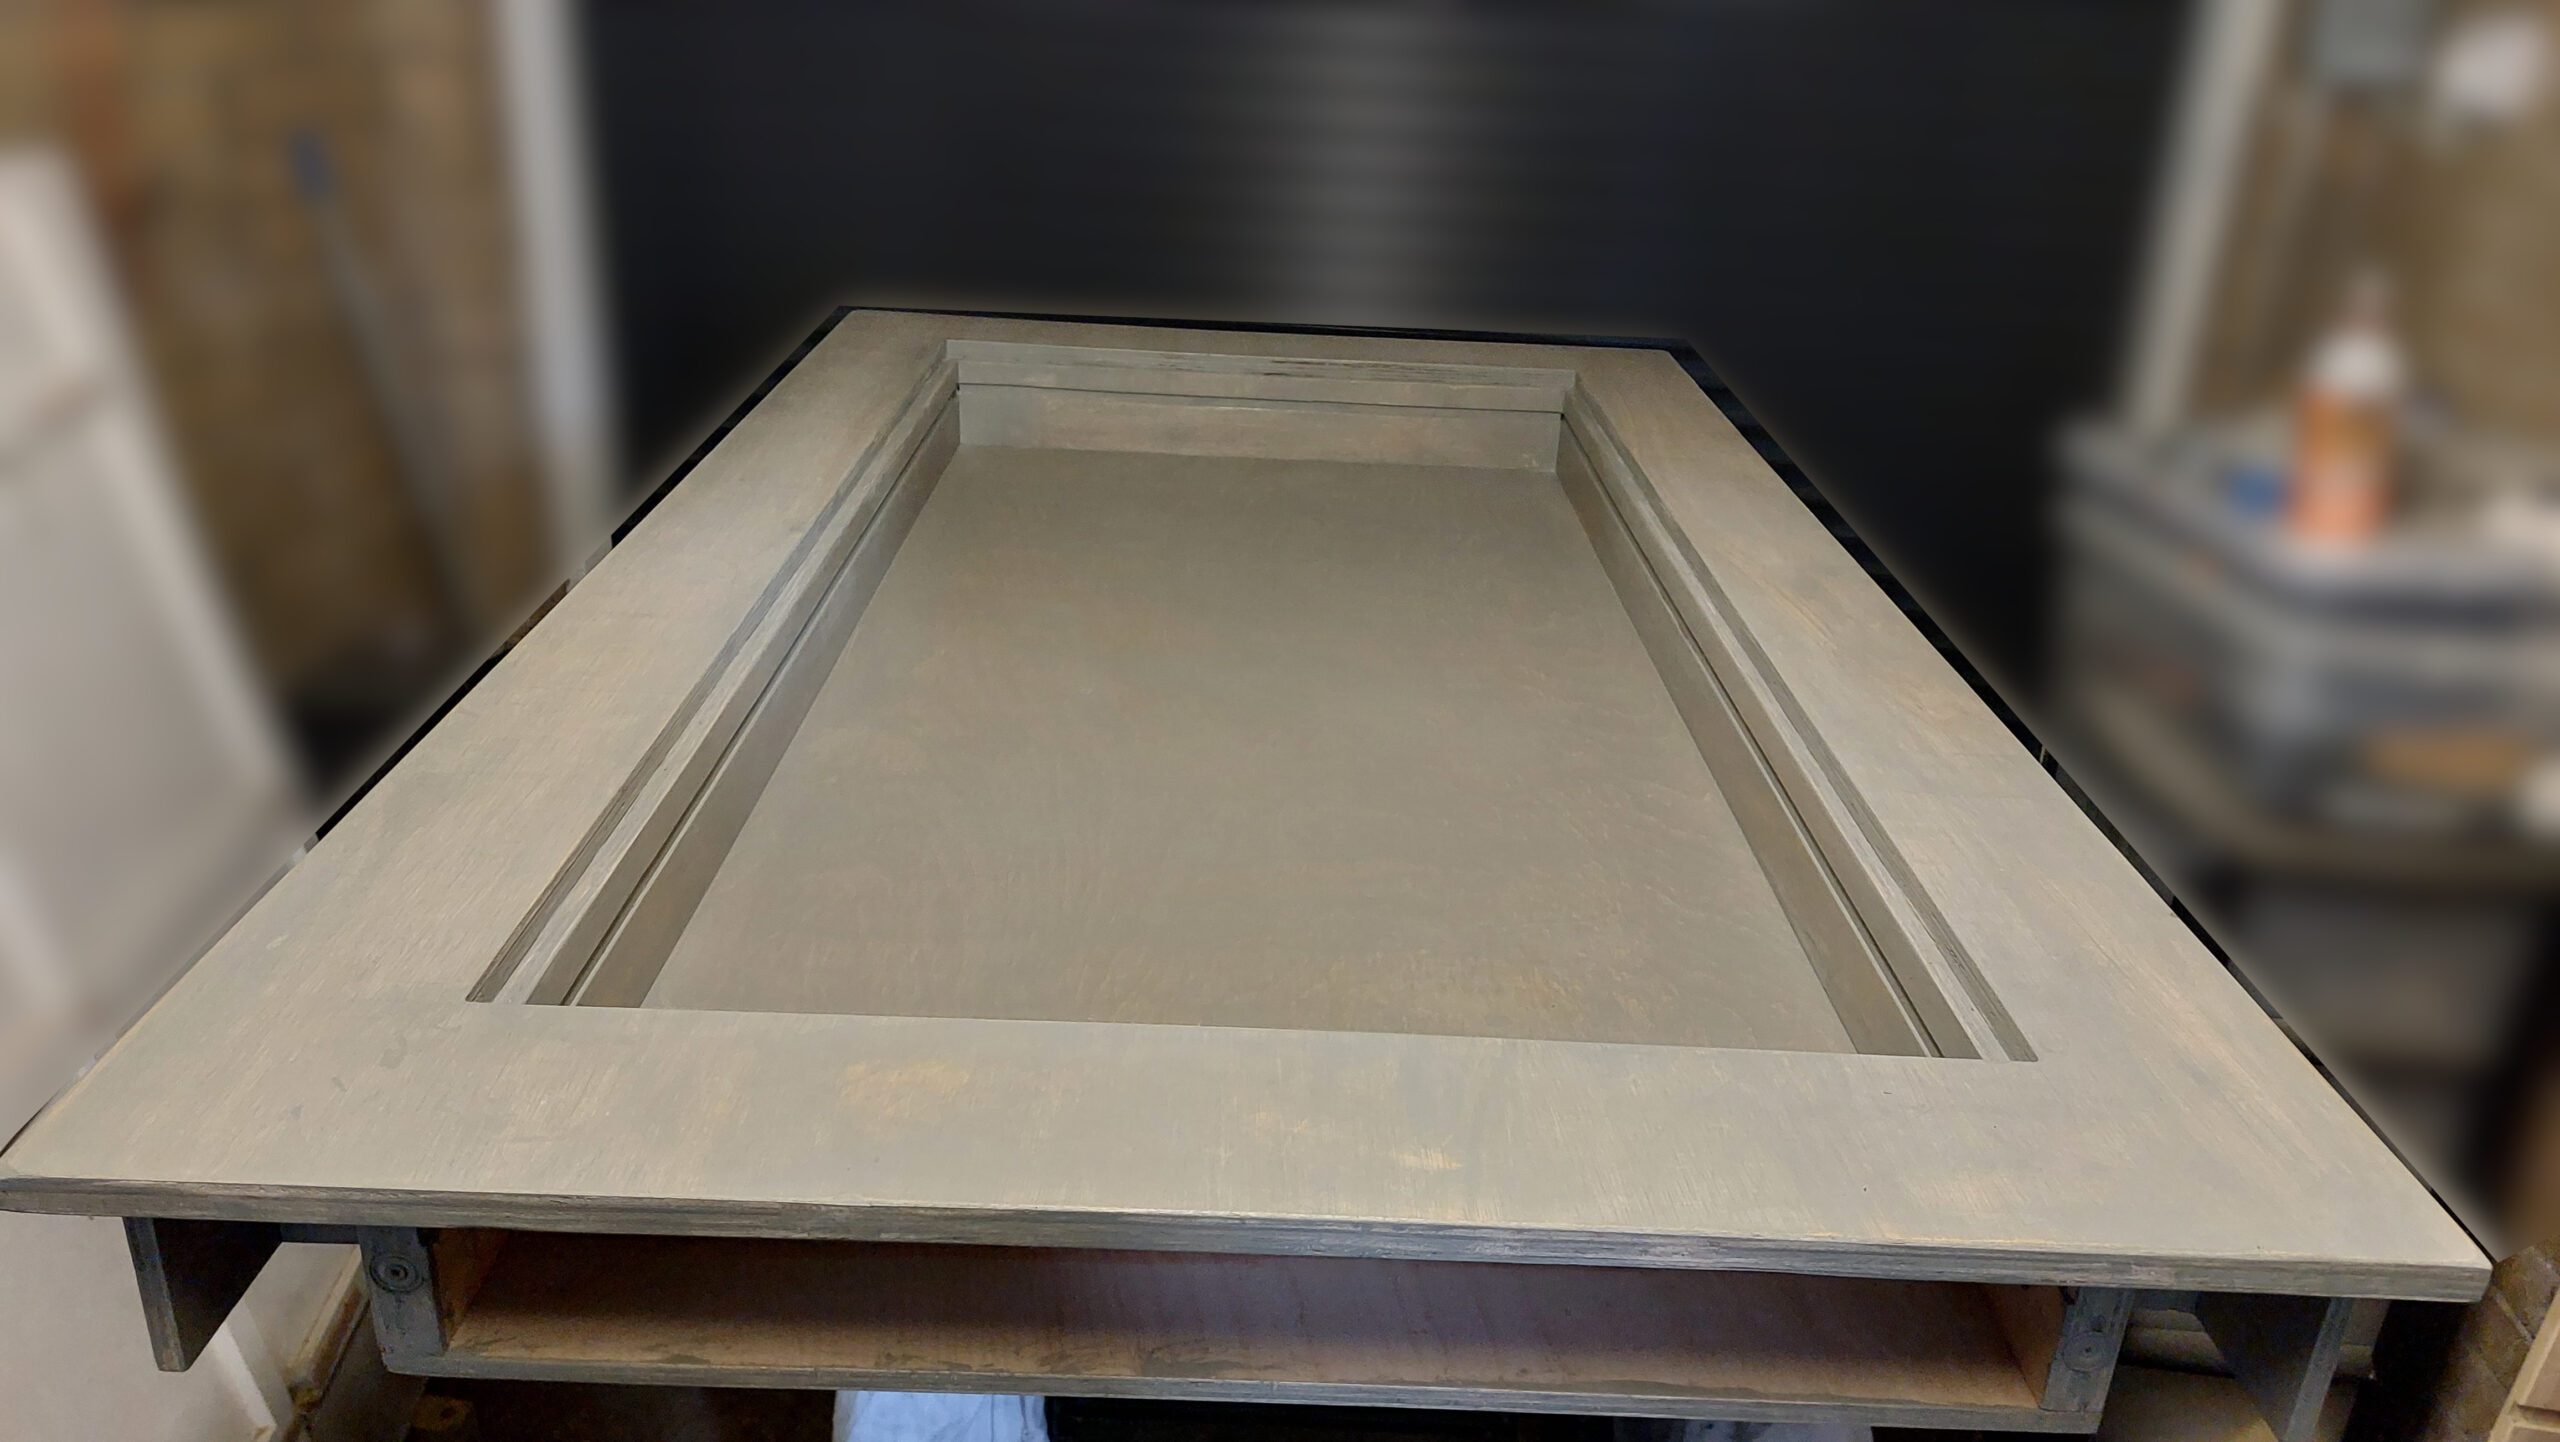
Once the table was built, I set about staining it with a light grey finish. The process took much longer than I had anticipated and wasn’t the most enjoyable task, but the end result was definitely worth the effort.
Time for a glow up
After all the staining was done, it was finally time for the part I had been most excited about. Throughout the build, I had been experimenting with my LED light strips, and my plan was to control them with custom software on the Raspberry Pi. You can find more details about the lighting software here.
However, my first attempt at fitting the lights was complicated by my decision to set this as the default mode.
I definitely don’t recommend working closely with lights flashing that aggressively—it can make you feel unwell.
But after some adjustments, I finally got the lights wired in. Below is the final fit that (hopefully) won’t make you feel ill to look at.
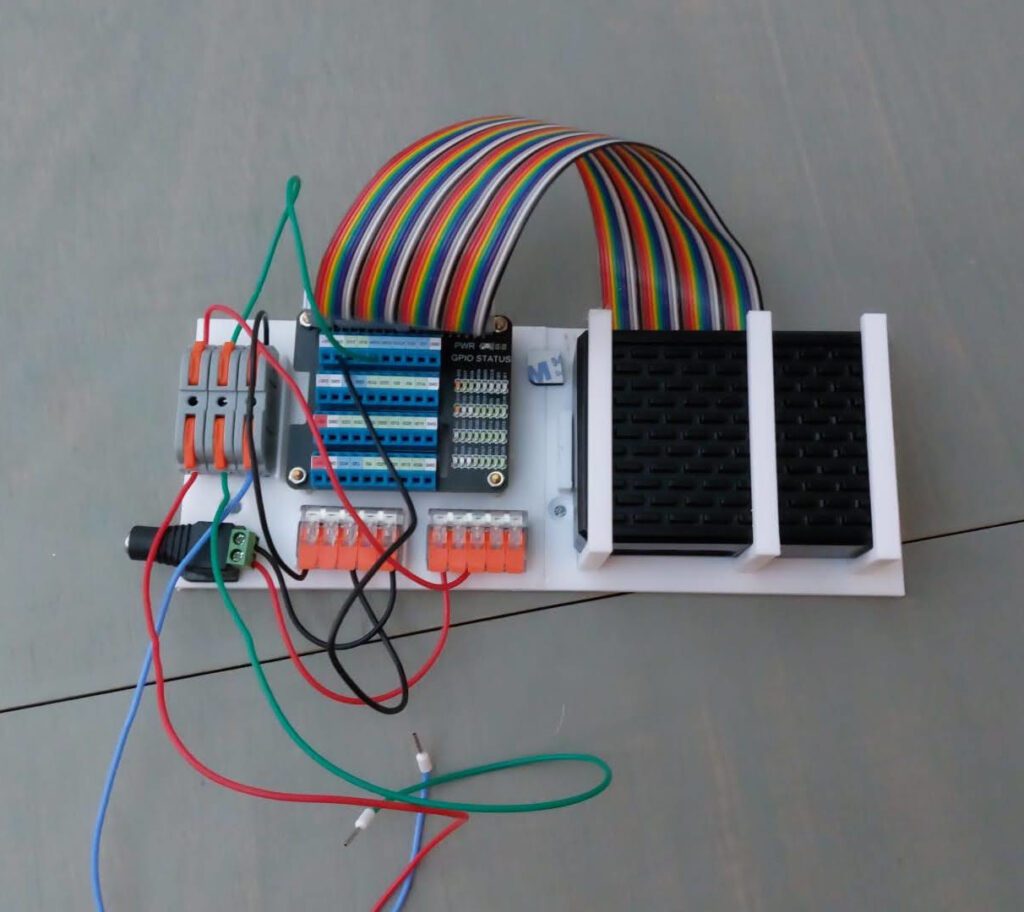
I then designed and 3D printed a simple holder for the Raspberry Pi, allowing the electronics to be easily lifted in and out of the table for convenient modifications.
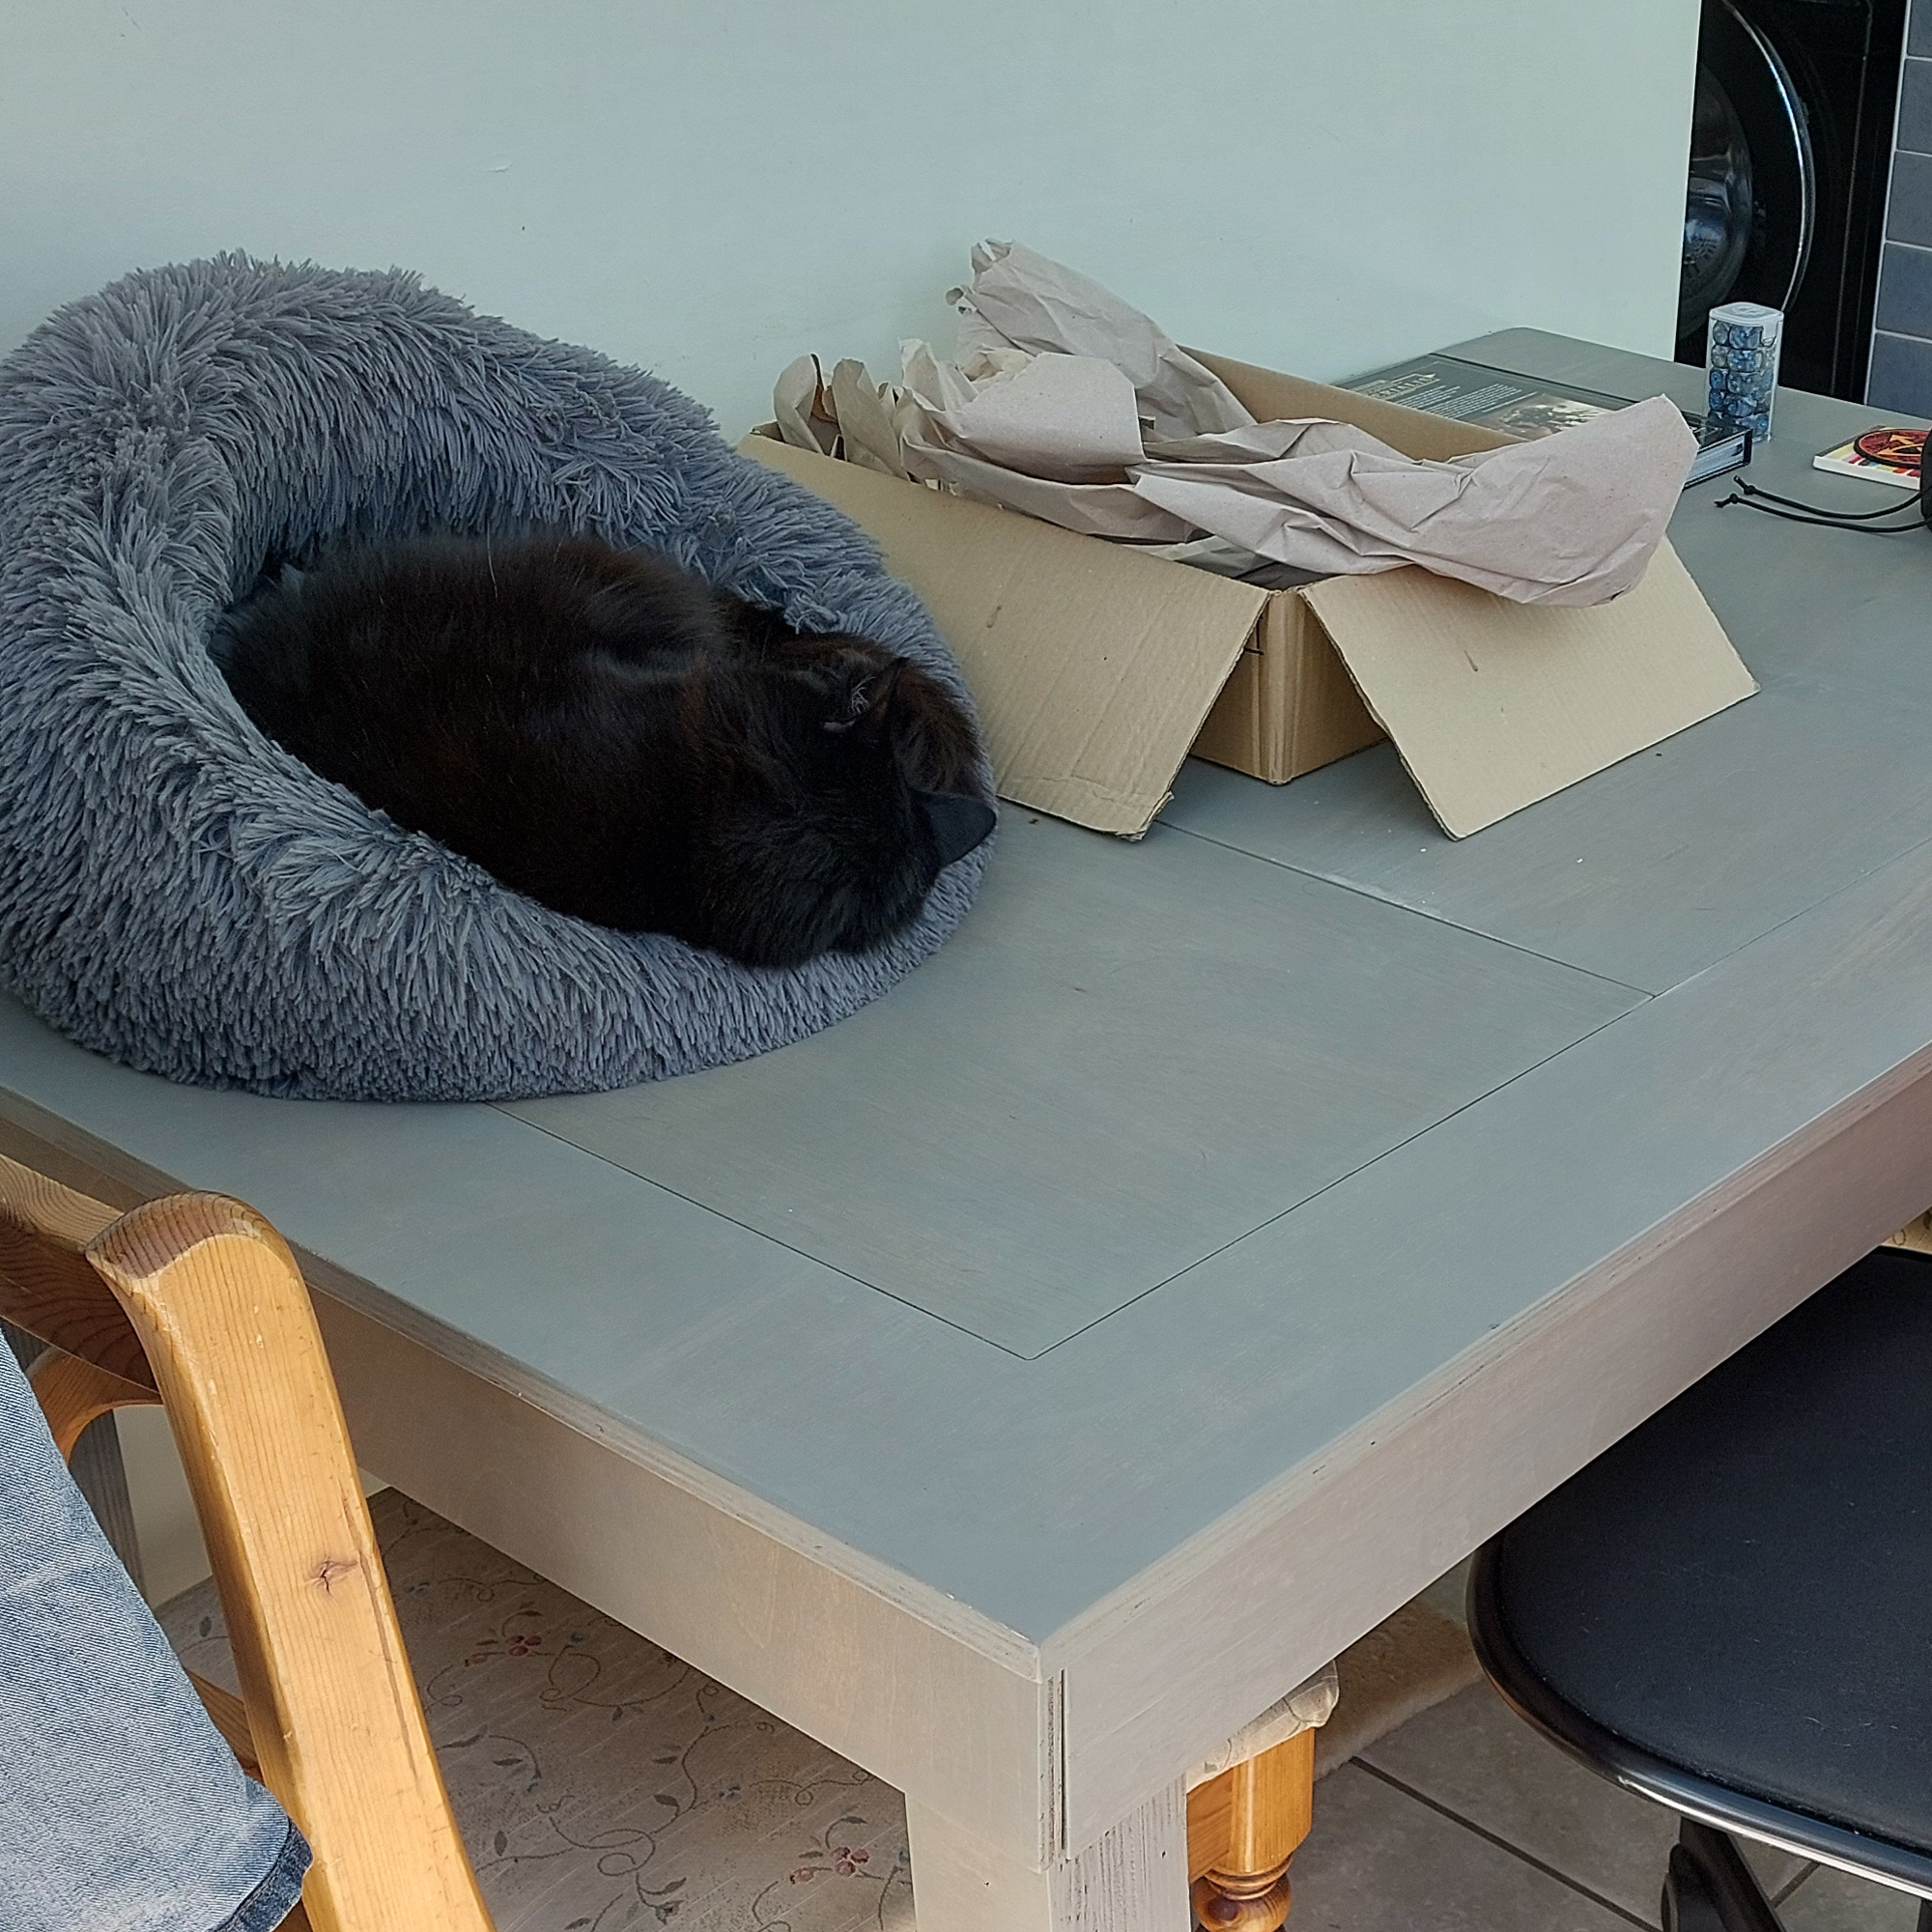
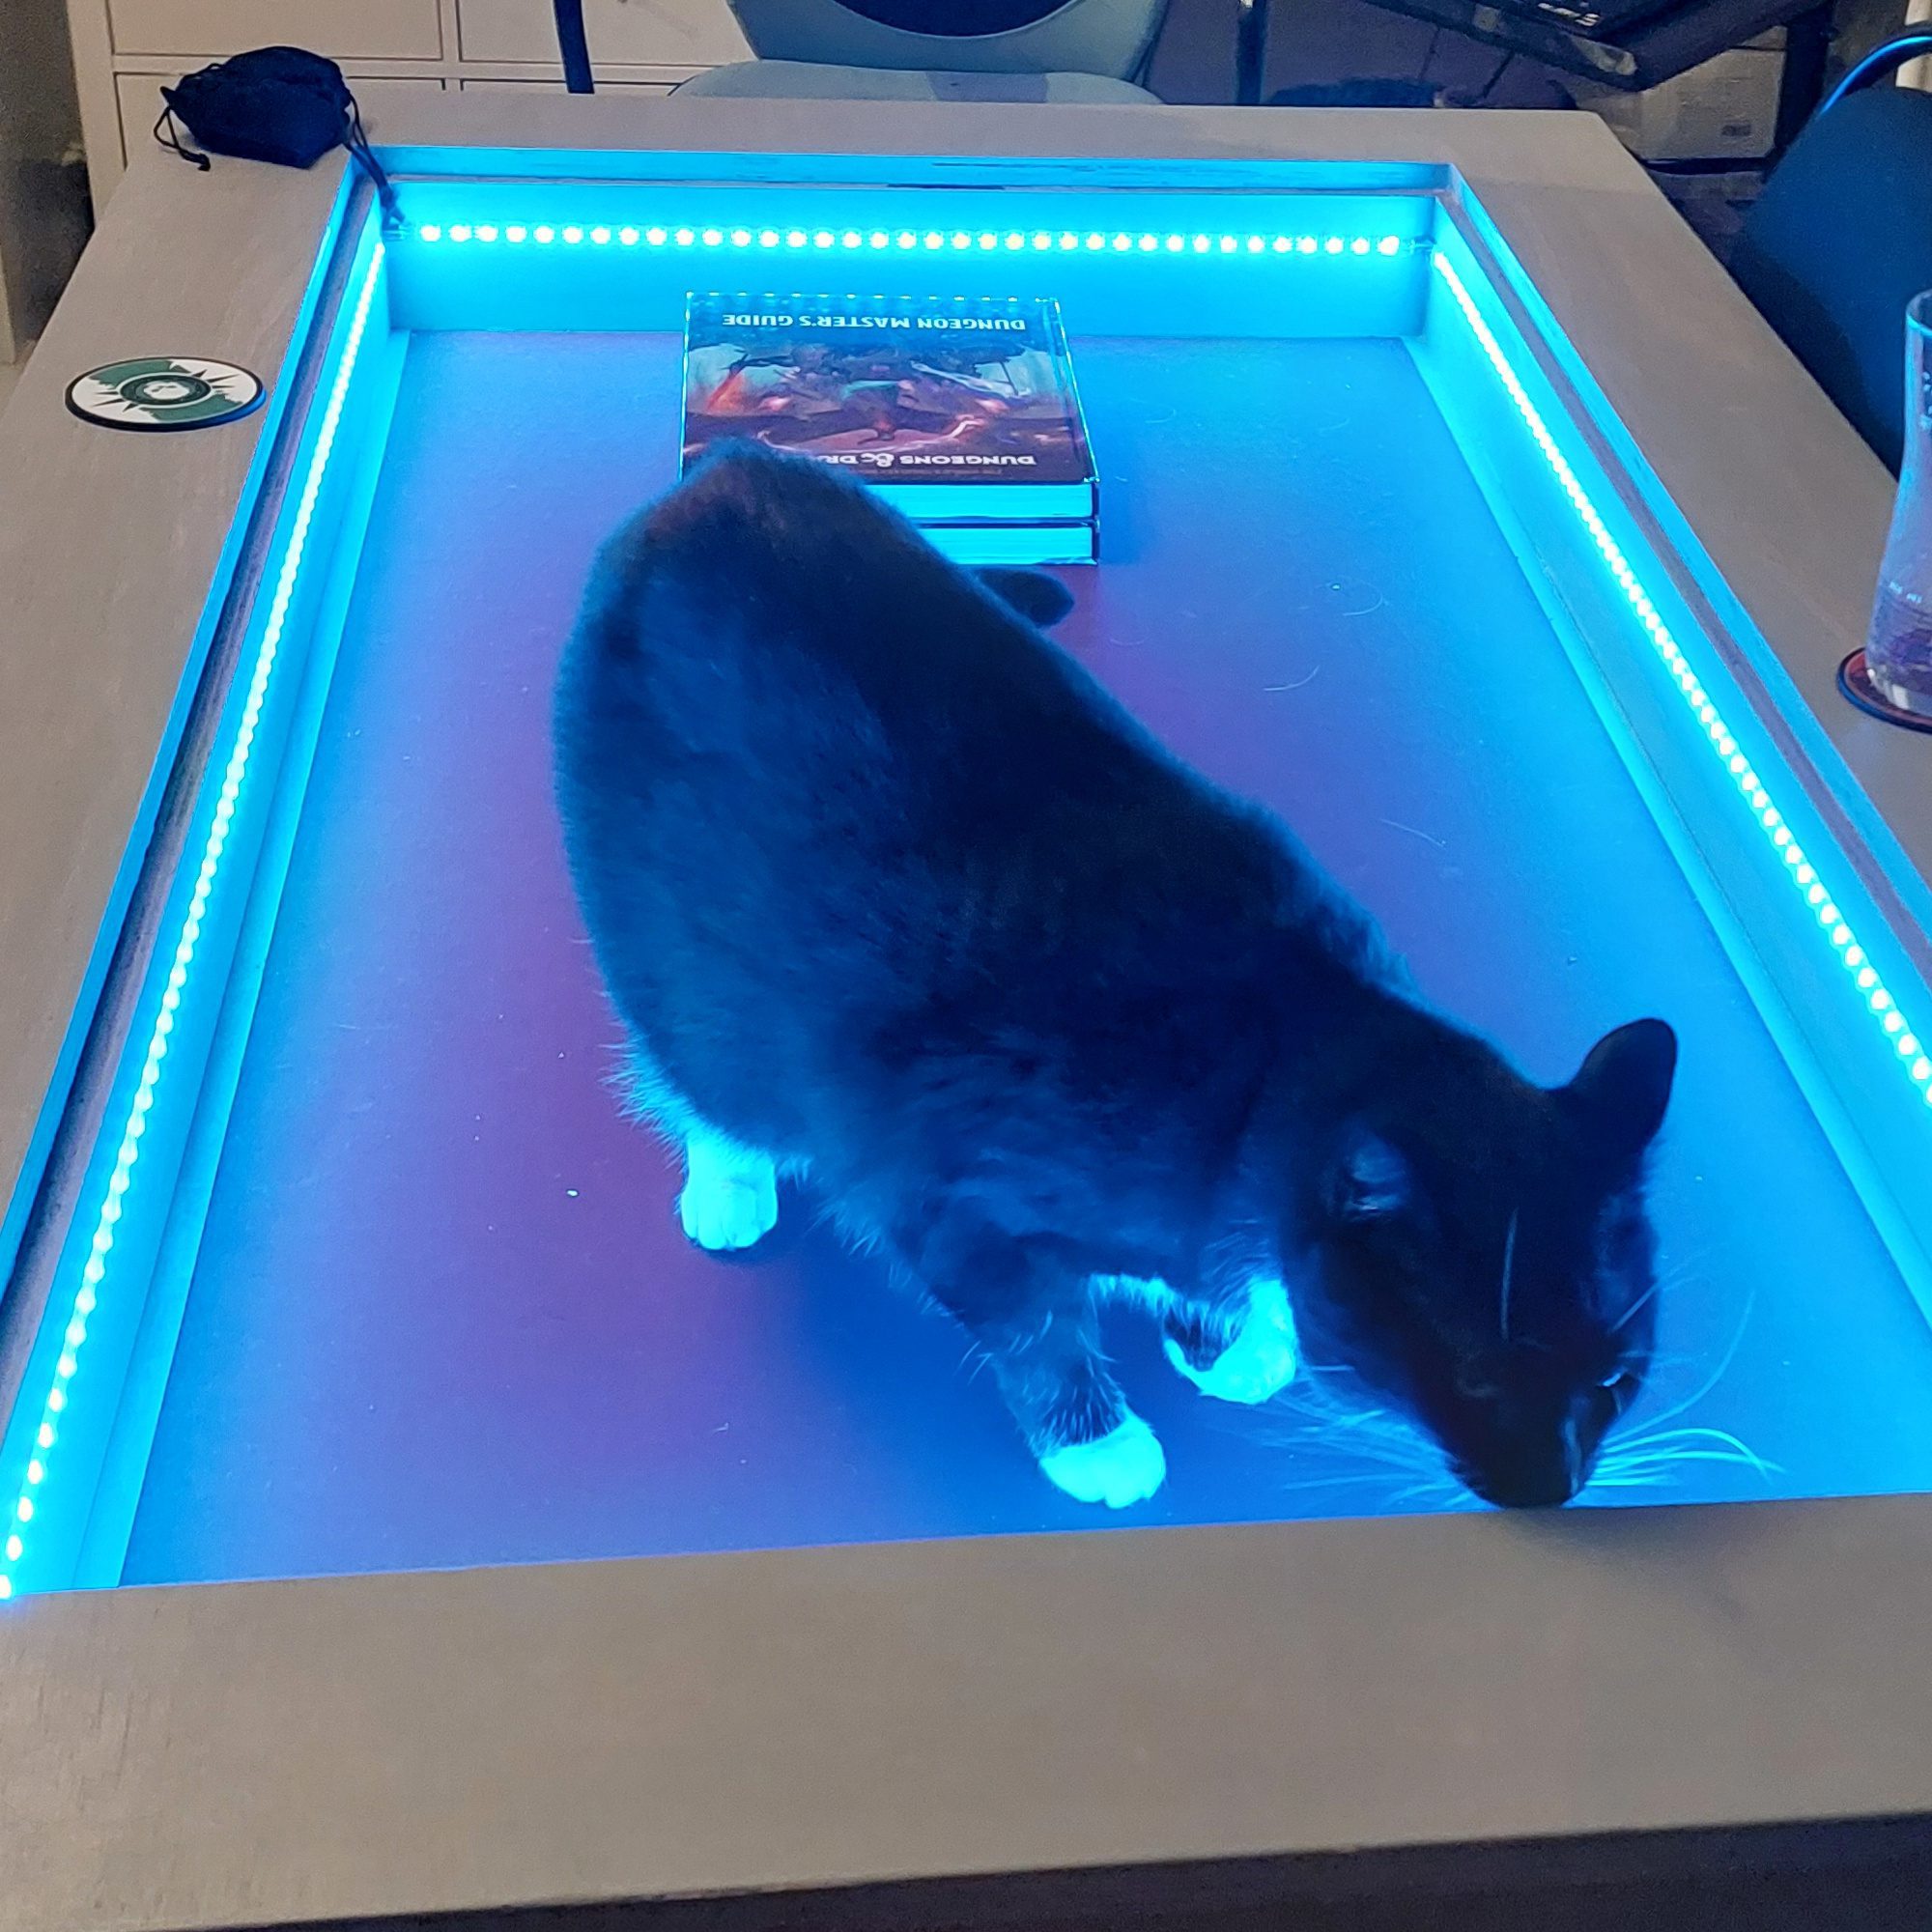
Once everything was assembled, it was time to replace the old table and see if it passed the most important test: Would the cats approve? Erzy has her bed on the table, where she often spends her days curled up. As seen in the left image, she’s very happy with the new setup. And Happy, shown in the right image, seems equally pleased—she looks like she’s about to give us a quest!
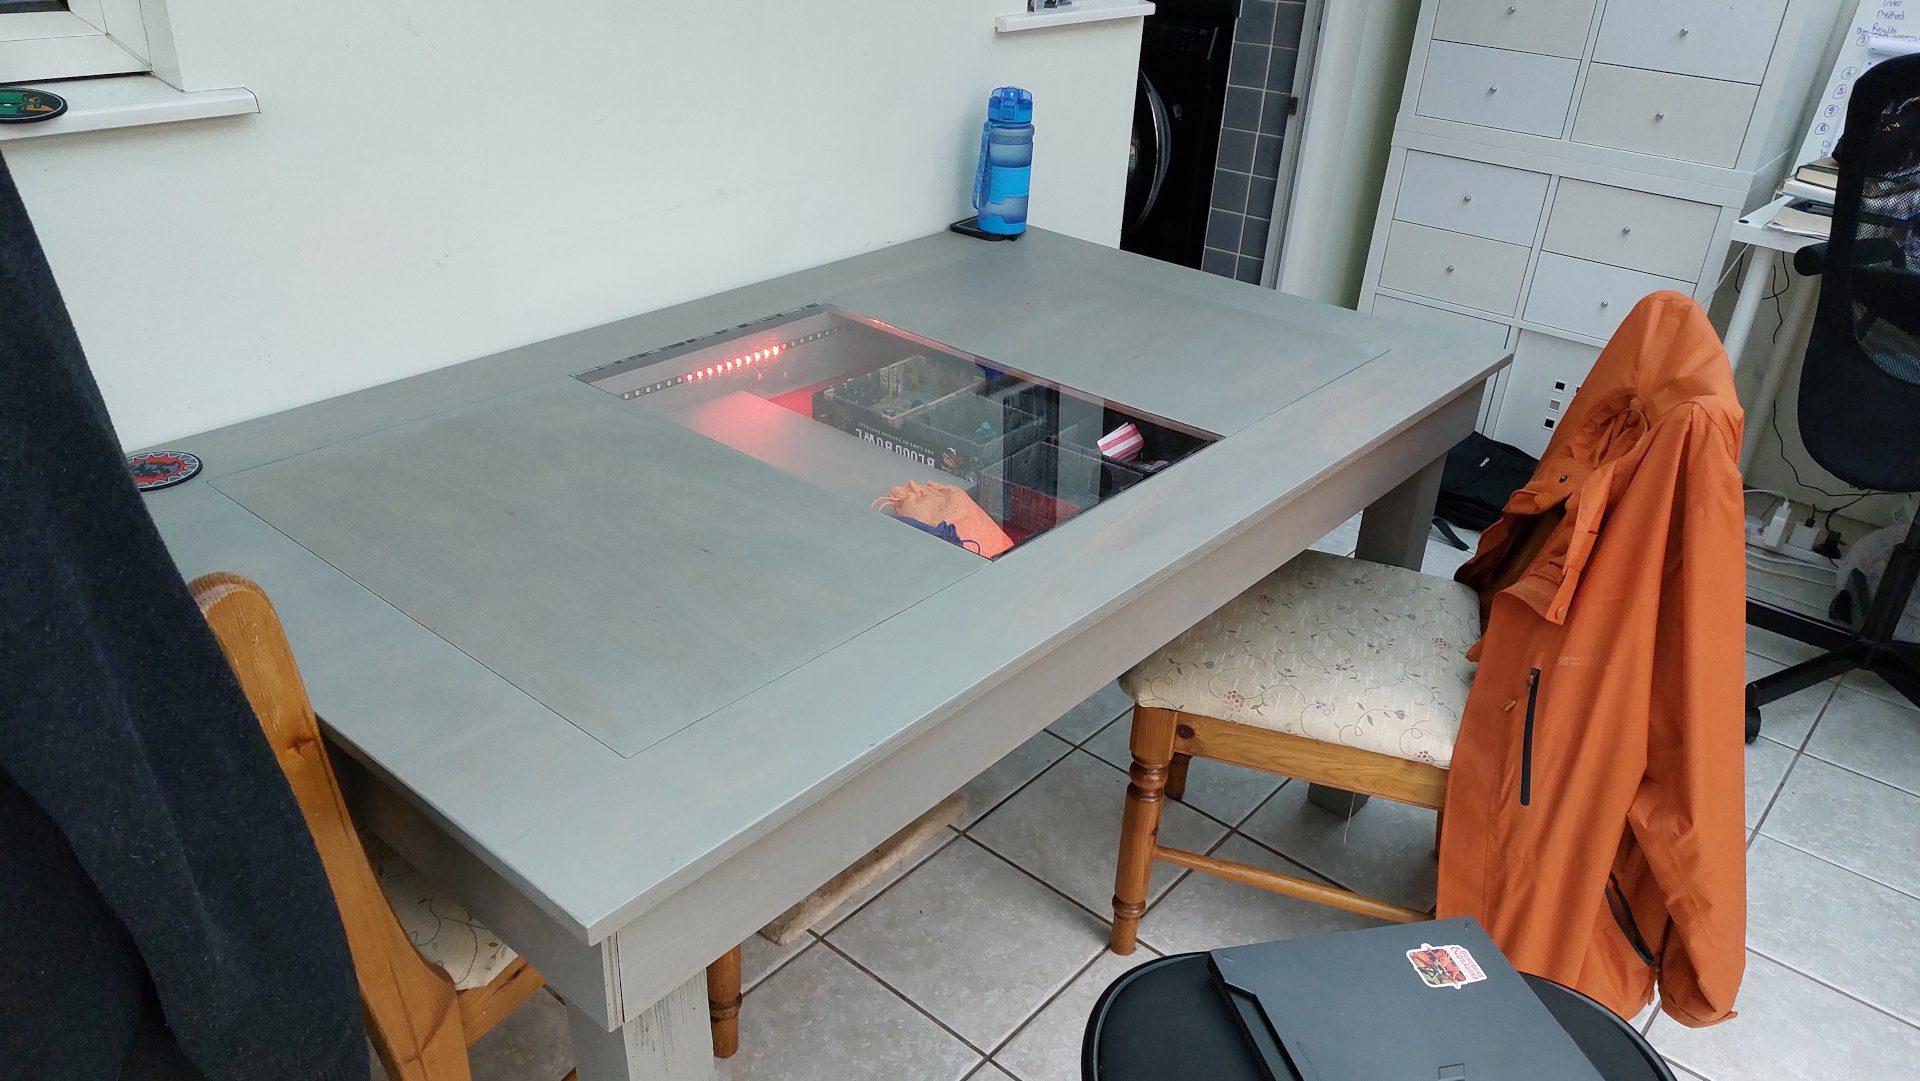
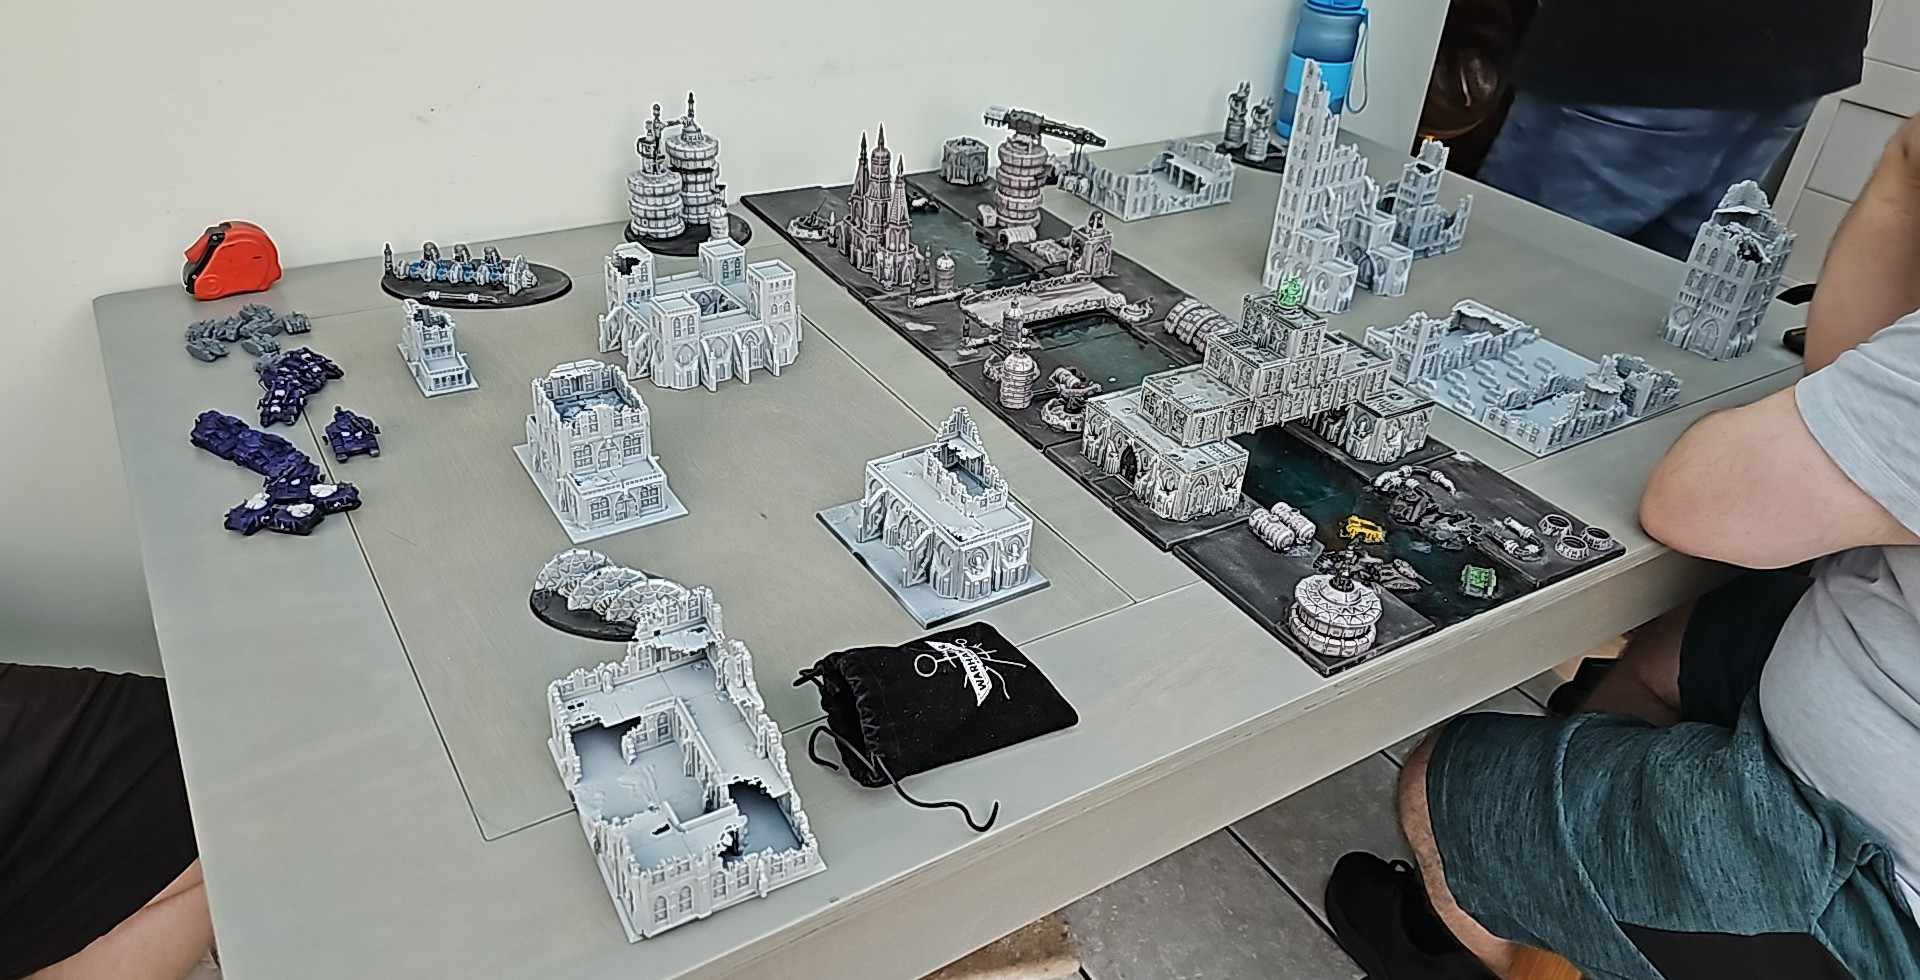
Now that the table is in place, it’s time to put it to good use for all my gaming! I even tried replacing one of the sections in the lid with a clear acrylic sheet. It looks good, but I think it might need a bit more work before I’m fully satisfied with it.

Of course, with the new lights, I can also spend my time coding new and fun lighting modes. You can read all about my adventures with lights here.